Written by Doctor Mike – Rock and Metal Producer, Guitarist, and Mix Engineer at EOL Studios. Published in a collaboration with Sonimus Audio – https://sonimus.com/blog/info/compression-modern-heavy-music-production.html
Compression in Heavy Rock and Metal has become a cornerstone of Modern Music Production Techniques. As mixes become denser and denser and each instrument fights for its space in the Heavy mix, they require more and more compression. On the other hand, if compression is applied incorrectly or excessively, it becomes incredibly easy to destroy the dynamics of mix elements and just come to blatant and static mixes that don’t sound exciting to the listener.
In this article, I would like to focus on some ways to prevent over-compression and loss of dynamics and still create the desired effect of heavy compression for a firm and solid modern sound.
I. The selection of Attack and Release times.
There is so much confusion about choosing the correct Attack and Release settings for compression. I can only suggest that this comes with experience, and experimenting and listening to your choices and their impact on the final sound will go a long way to discovering your take on compression.
There is, however, a simplistic approach to finding the Attack and Release settings suitable for the material, and that has been developed by Michael Stavrou in Mixing With Your Mind Book. In short, one calls for extreme compression settings to really hear their effect. Set up your ratio to the maximum. Attack and Release to the shortest. Adjust the Threshold so that you get a healthy amount of gain reduction. Now, start slowing the Attack down, and listen to the transient. Find the setting where the transient comes through. Next, adjust the Release time to suit the tempo of the chosen track.
II. Common Attack and Release Settings.
This approach allows to discover the compressor timing settings that would suit your musical material and leave the transient less affected, hence creating less of unwanted compression artefacts. Find some common compressor timing settings below applicable to Heavy material.
Drum Overheads – Slow Attack, Slow Release. Smooth out and glue drums together, without impacting the attack envelope.
Kick – Slow to Medium Attack, Medium to Fast Release, depending on the material. Leave the attack intact and adjust the release to not interfere with the next note. This varies depending on the part, for instance, a drum part consisting of predominately 16th note double kicks would require a faster release than 4th or 8th notes.
Snare – Slow Attack, Medium to Fast Release. Snare compression may be a bit tricky, and would largely depend on chosen production style. Fast release time would provide a more aggressive punch, medium release times would give more sustain to the snare. Slow attack is preferred to leave the transient intact, however, this depends on how the drum was recorded in the first place.
Toms – Medium to Fast Attack, Medium to Fast Release. Toms are compressed rather aggressively to cut through a dense mix.
Drum Parallel Compression – Fast Attack, Fast Release. Settings are adjusted to match the tempo of the track.
Bass – Fast Attack, Fast Release. Bass is one of the most dynamic instruments in the mix, and it hence requires a significant level of evening to stay prominent. Attack may remain as fast as possible until the distortion artifacts occur.
Guitar – None! Although many producers prefer the compressed guitar sound with slow Attack and fast Release, I would recommend against it since heavily distorted guitar is already significantly compressed by definition. I would recommend using extra saturation layers instead, see below.
Vocals – Medium to Fast Attack, Medium to Fast Release. For heavy screams or growls, aggressive compressor settings suit the material, hence fast attack and release. For cleaner singing, you may want to explore the infamous Dr. Pepper settings, with Medium Attack and relatively Fast Release.
III. Compression in Series versus a single Compressor.
Most of the Modern Rock and Metal Producers work in the box and rely on plugins heavily, and I have been no different until recently. The important thing of note is that outboard analog compressors are a little more transparent and forgiving in general, and hence allow more gain reduction to be done (up to 10 dB!) without providing excessive artefacts. Digital plugins aim to emulate this behaviour, and we’ve been fortunate enough to live in the era where these software products come closer and closer the their analog brothers, and sometimes even exceed these in the state of convenience, recallability, and the sound itself once not trying to emulate a specific piece of gear.
As a general rule of thumb, however, I recommend avoiding pushing plugins to their extremes especially if the goal is to achieve clarity and transparency. The answer to firm and solid compressed sound desired by heavy musicians and producers then is – serial compression.
Instead of using a single instance of a plugin and taking down 10 dB of the signal, consider going milder with that original compressor, maybe 3-4 dB of GR, and then using a different model with a different sound, complementary to the first compressor, taking additional 2-3 dB. This results in a cohesive and diverse sound that is still firmly compressed, yet remain more transparent. The second compressor settings are also likely to be milder, letting the transient through and emphasizing the action of the first compressor as well.
Few examples here. Once I compress the individual microphones for my Kick drum with the settings pictured above, I next travel to the Kick Buss. I insert an additional compressor of a different style (the modern metal genre craves for SSL-style compressors) and tweak its settings to the program material. Normally slow attack and fast release work very well for emphasizing aggression, and slow attack and medium release for additional punch and sustain. I approach snare similarly.
For Bass, I like to glue the buss together with a Fairchild-style medium or slow compression, adding thick harmonics and rich bottom end without impacting the attack already smoothened out on the previous step of compressing the individual tracks.
Vocals may benefit from a finishing polish of LA-2A or even API 2500-style compressor, taking out no more than 1 dB of gain for subtle evening and thickening.
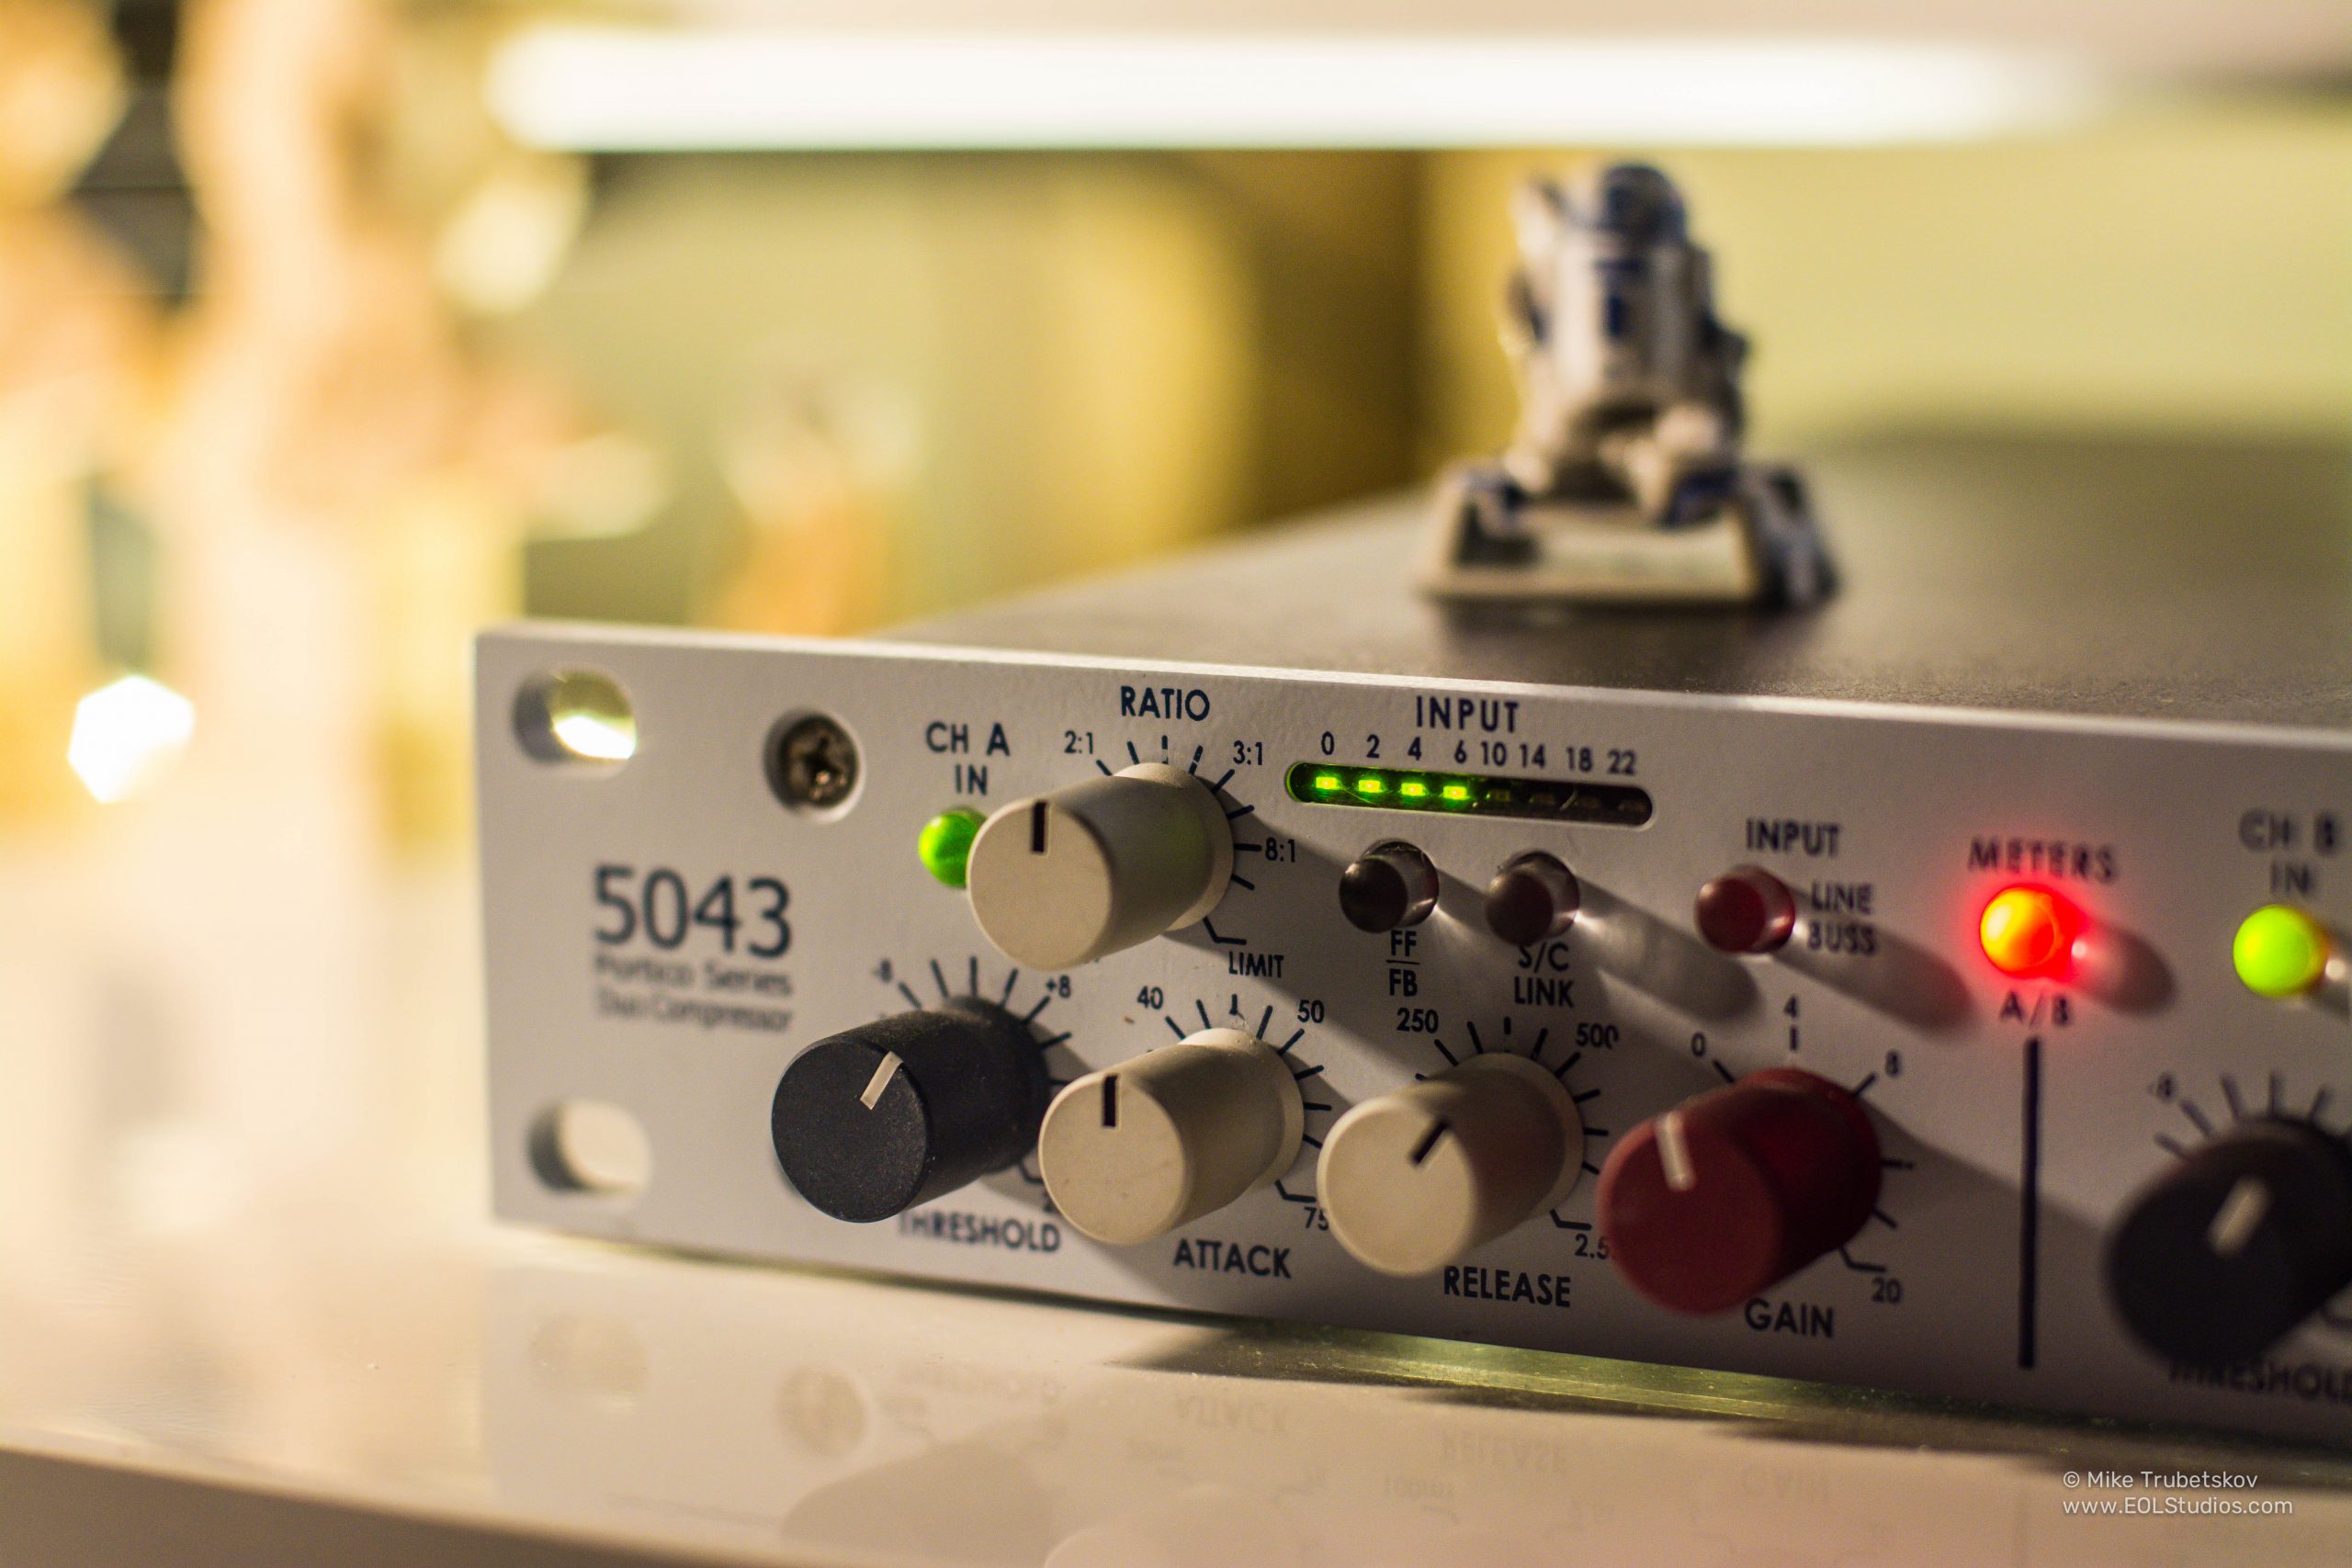
Similarly, my mix bus itself goes through a series of hardware and software compressors, and that does quite a heavy lifting to the signal. I take out 2-3 dB of the mix bus with my Rupert Neve 5043, which then goes to Louder Than Liftoff Silver Bullet and Rupert neve 542 Tape Emulator for harmonic coloration and emphasis. Back into the box, I additionally compress the mix bus with API-style, SSL-style, or unique and transparent digital tools that further glue the mix together. The closer to the finish line, the less compression is required; I may barely move the needle of the final compressor in the chain and still hear a significant impact.
IV. Compression layering.
Additionally to serial compression, layering compression in parallel is a fantastic idea to thicken sounds up and create an aggressive feel to these, without destroying the original feel of the part.
One may get very creative on this stage, combining the flavours and unique action of all the software and hardware tools at hand to come up with a vibrant and strong combination of firm compressed signal.
I reach for 3-4 different parallel layers for drums, ranging from a classical 1176-style compression for grit and punch, as well as Neve-style glue and thickening for the entire drum kit, to very aggressive digital plugins on Kick, Snare and Toms only to let them cut through a dense mix.
I parallel compress the Bass, too, with 1176-style limiter acting very aggressively.
I started to parallel-compress the mix bus itself as well, strictly in the digital realm, blended subtly. This creates an additional layer of aggression, once again, without impacting mix transparency and fullness.
V. Multiband Compression and side-chain Compression.
A more utility-based approach is multiband compression, and that is a superior way to further clean things up in lieu of heavy compression. The approach is well applicable for instruments that are dynamic only in the specific frequency range. Heavy guitars are very prone to uncontrollable low end movement on the palm mutes. Bass guitar may move significantly in the sub-bass region. Vocals may have quite an uncontrollable low-mid and mid frequency range, prone to increased dynamics. All these instruments may additionally benefit from multiband compression on their buss, focusing on the problematic area and subtly evening it out without impacting the rest of the instrument. This provides more transparency, clarity, and control to the mix.
Finally, once one reaches the stage of mixing where all the instruments are incredibly dense and thick, it gets progressively more complex to let each instrument have its full space without compromises. Until recently, engineers didn’t have access to modern digital tools and hence had to carve room for instruments with the EQ, for instance, significantly high passing the additional lead guitars, synths, or extra vocals in order for these to sit in the mix nicely. As a result, the mix certainly felt balanced and rich, yet just these extra elements may have sounded thinner than desired.
We are blessed with technology in the modern days, and it gets infinitely easier to befriend the elements of the mix with multiband compression that is side-chained to the instrument of need.
For instance, vocals and guitars almost always fight for the common space in the mix – the midrange. Instead of trimming that midrange out and sacrificing the sonic character of one of the mix elements, one may perform the following trick.
Select a multiband compressor for the guitars. Create a band that sits in the conflicting midrange region. Side-chain it to the vocals. Set the attack and release to taste, so that the reduction is transparent. As a result, your guitars are going to become more “scooped” once vocals are active, leaving room for these and not interfering with the frequency distribution. However, once vocals are not present in the mix, the guitars return to their full-sounding state. The listener would appreciate both the massive guitar sound, and room for vocals where required.
Similar approaches are well applicable for synths in strings in heavy music that occur episodically and need to retain their power, as well as additional lead guitars – or any other element of the mix that is difficult to fit into a busy canvas.
VI. Conclusions.
As much as compression remains an area of music production that requires lots of experience from the producer to achieve transparent and solid results, the modern tools available at our disposal make the job easier and easier. By following the approaches described in this article, one would minimise the artefacts of over-compression and achieve massive and solid-sounding Modern Heavy Records with great deal of clarity and separation – a true staple of the Modern Sound.